|
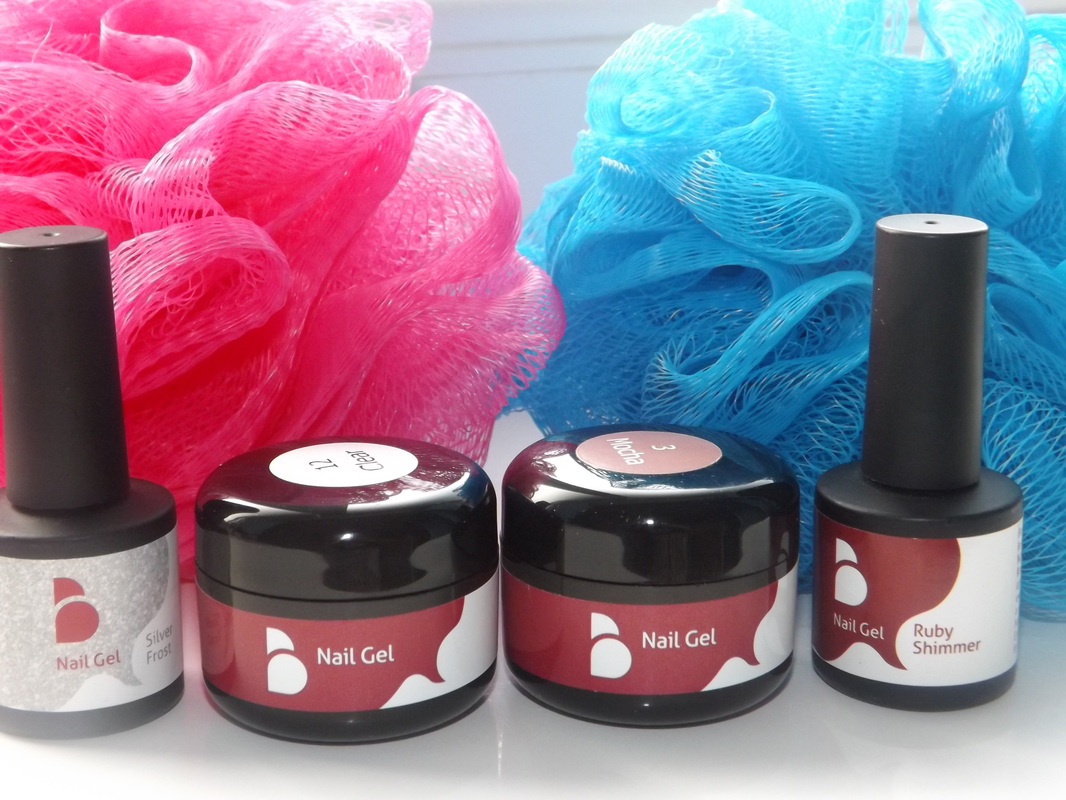
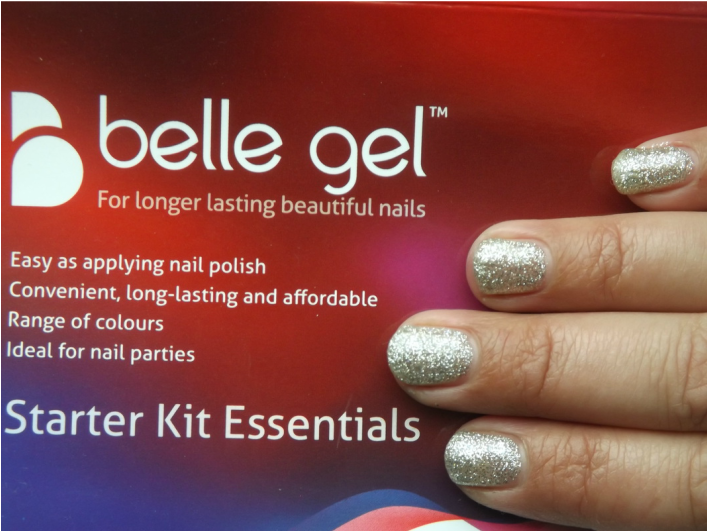
Last week I received a fabulous Belle Gell starter kit Pro 90 in the post . I was busy with other things so I apologise I did not post this sooner as I know some of you were interested to see how this works and if it gives the finish it promises. In the kit you receive all you need to create a minimum of 20 manicures. Comes with a 36 Watt lamp and you get to choose the nail gel of your choice , I have mocha but was also sent two extras which I can not find online , so maybe its a new range they are looking to add soon. I do remember seeing the gold glitter one and it was a limited edition.
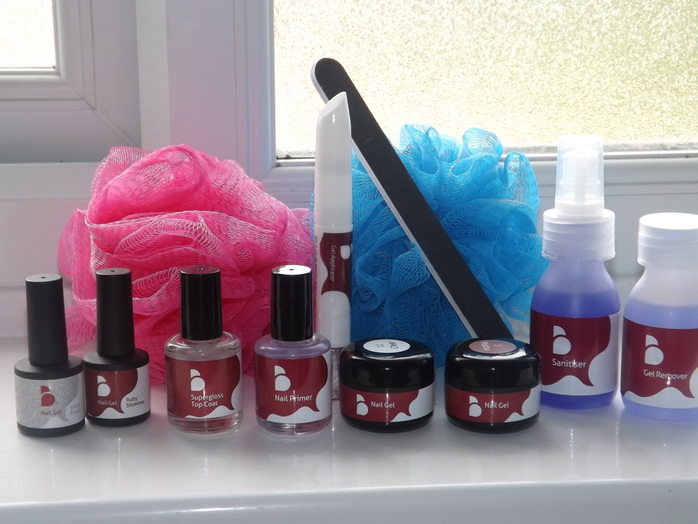
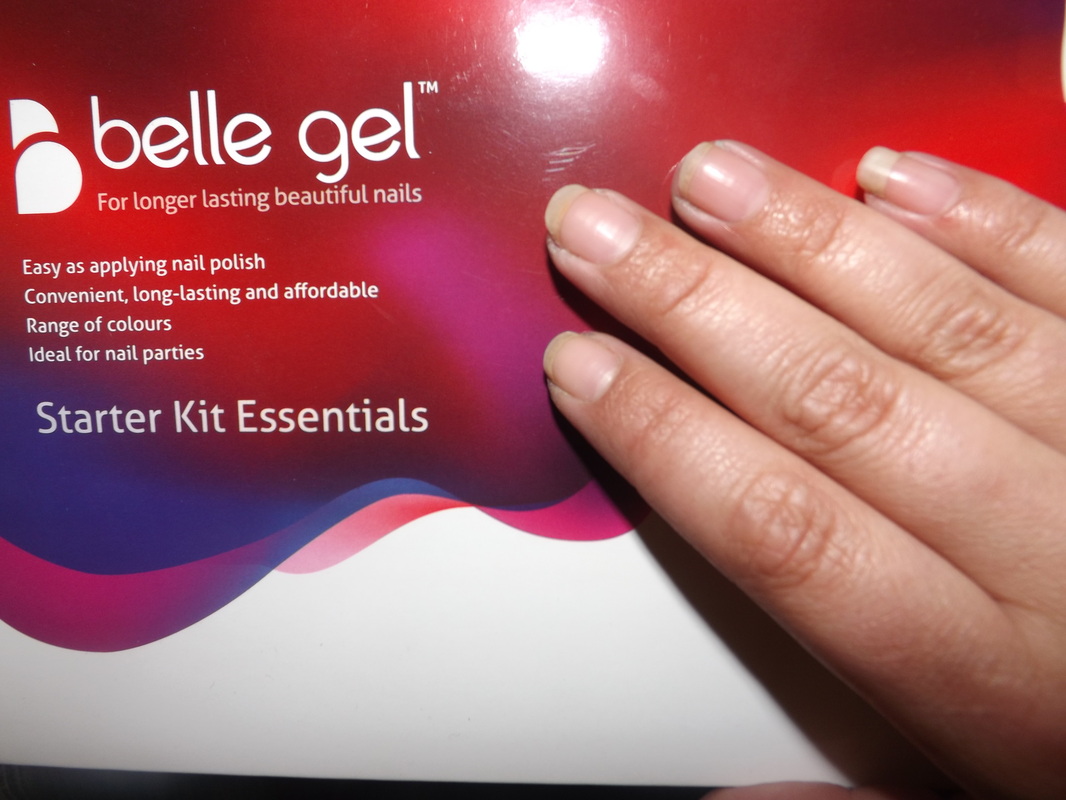
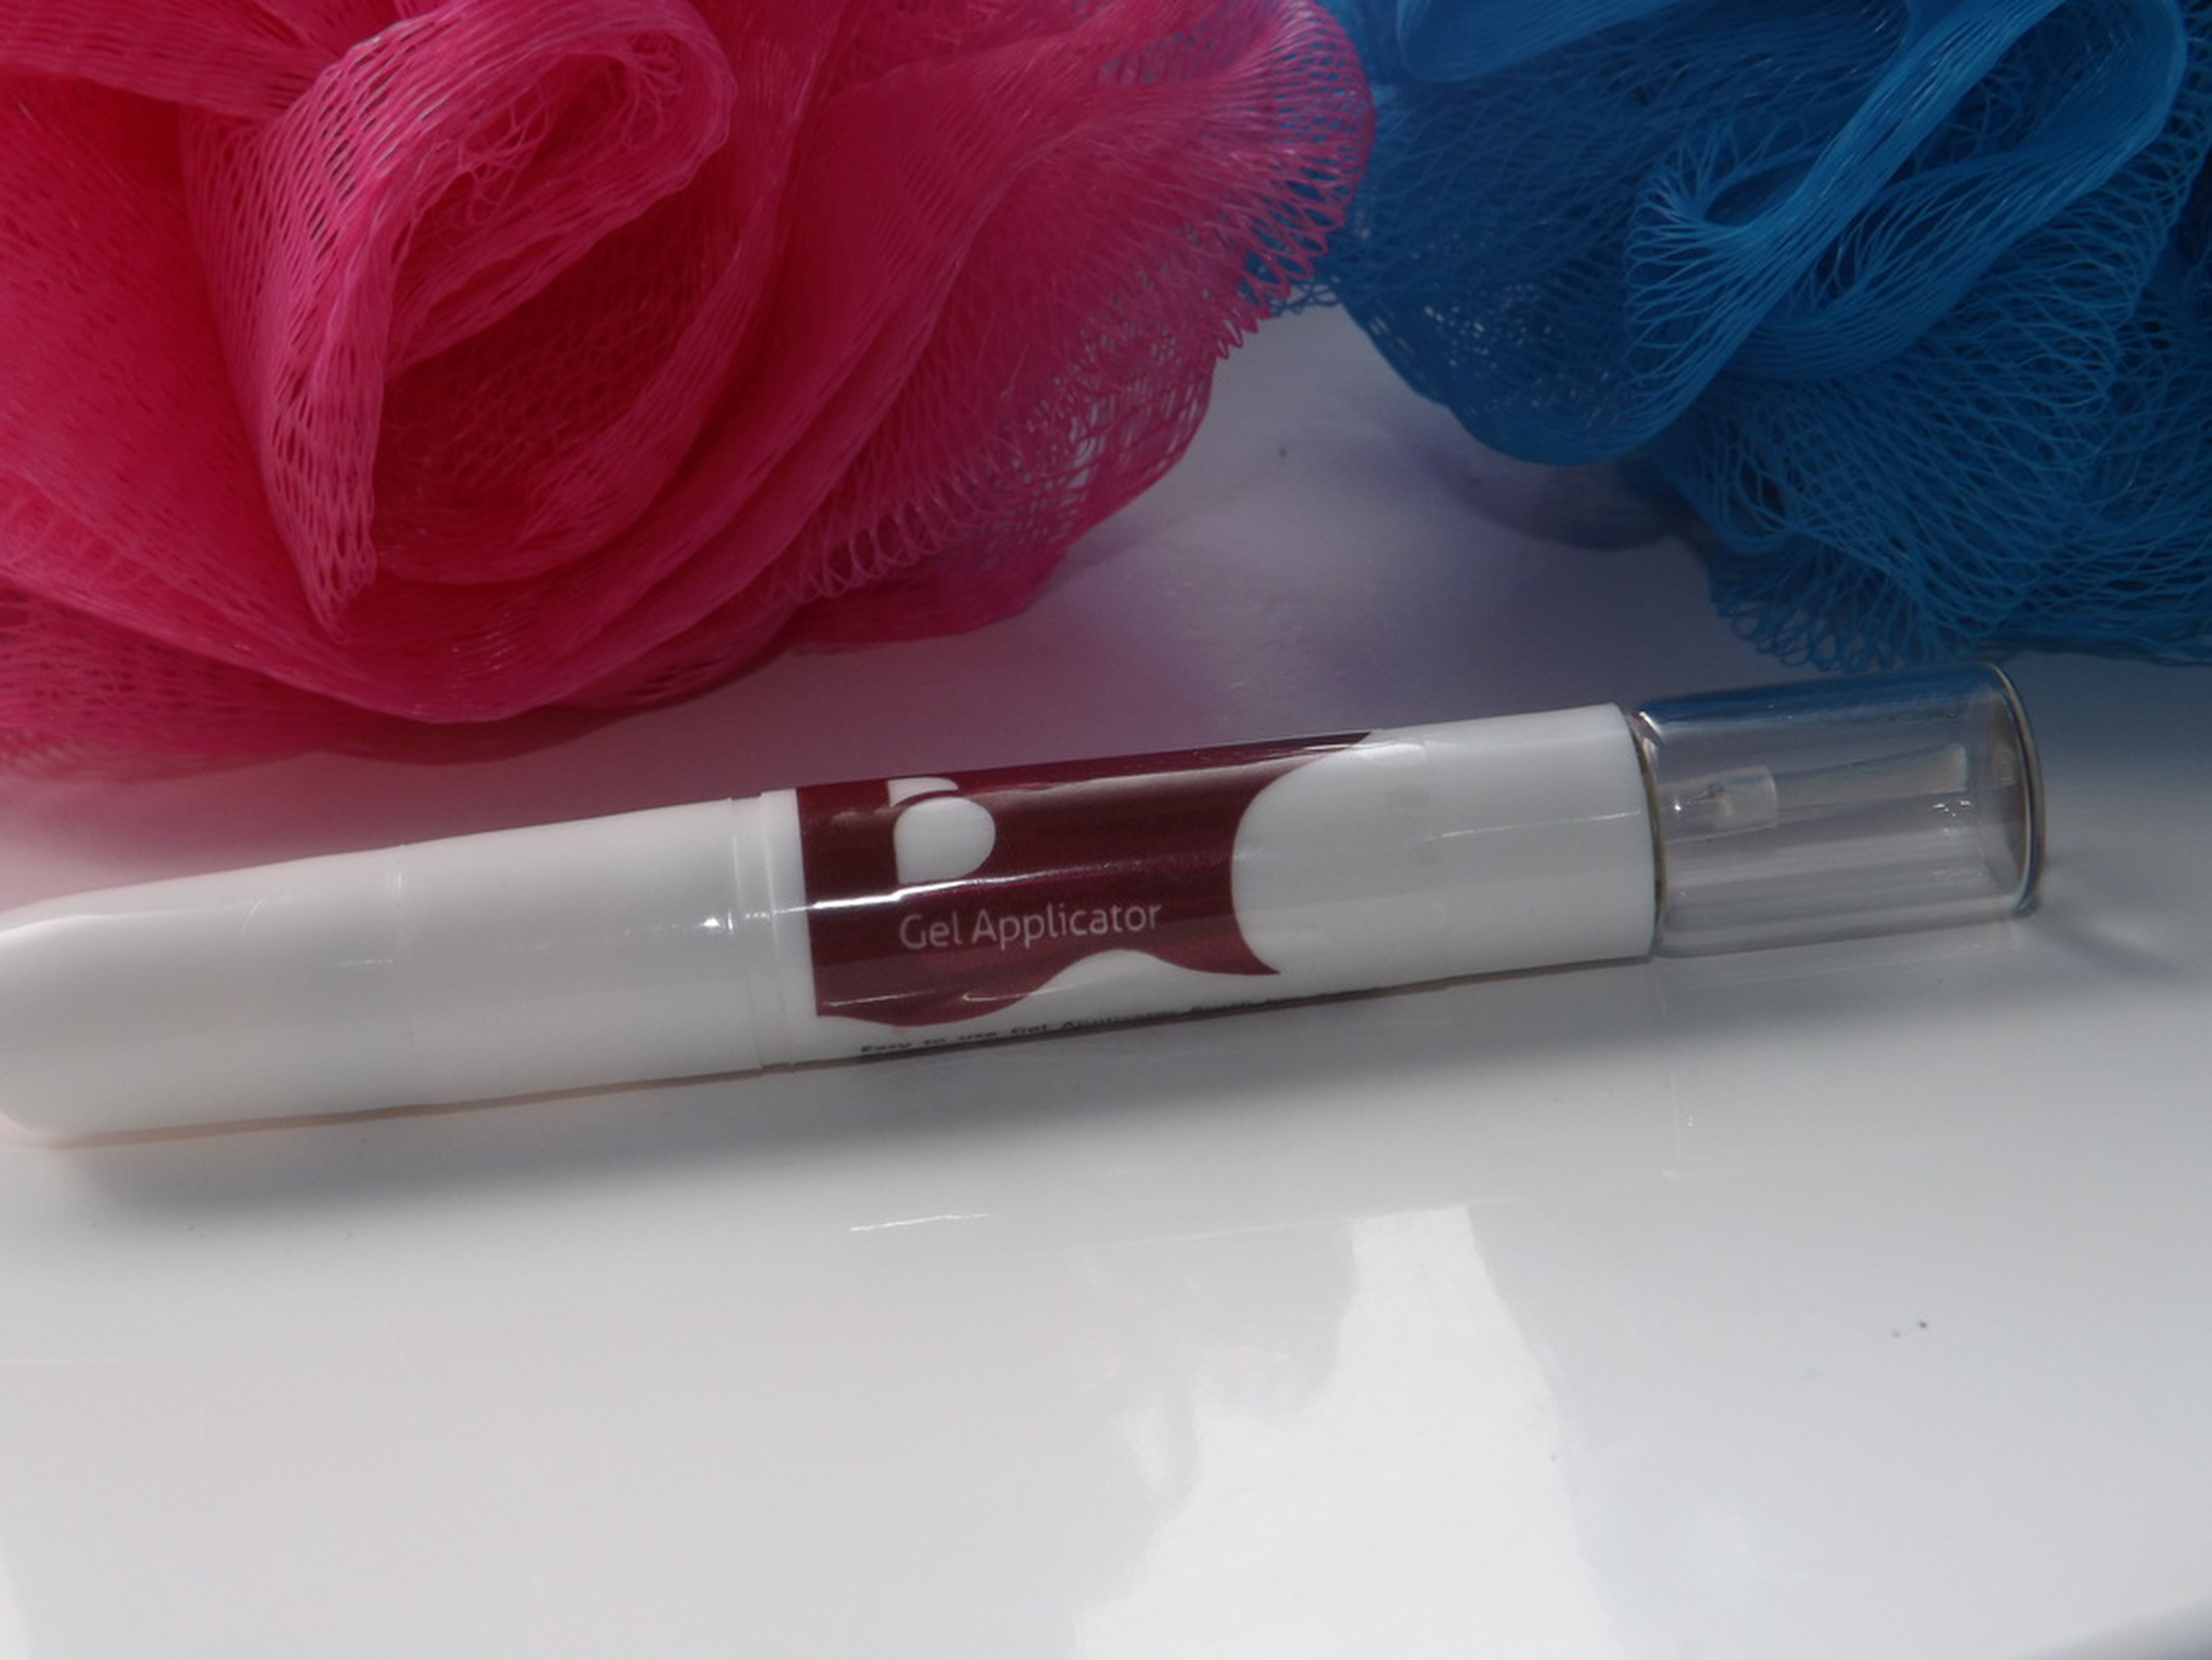
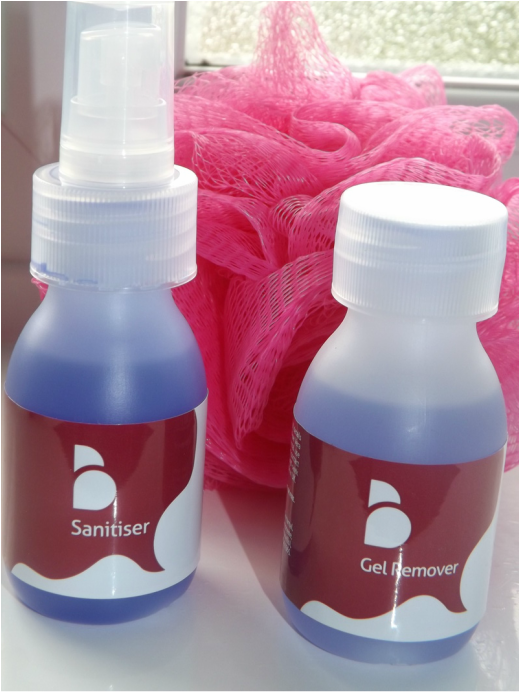
Costs - £54.95 The Starter Kit Pro 90 contains:- 1 x Santiser 60ml 1 x Nail Primer 15ml 1 x Gel Remover 60ml 1 x Supergloss Top Coat 15ml 1 x Clear Gel 10g 1 x Coloured Gel of your choice 10g 1 x Nail File 1 x Gel Applicator Brush 1 x 36 Watt UV Nail Lamp 1 x Instruction Leaflet I have to be honest , I have not tried the Gell nails yet so this is something new to me . I bought a lot of new things to get started last year and they still hide in my nail collection box. I feel quite scared I will just make a mess and get it everywhere other than my fingers . I think if this works I will try doing them more so lets see. Ok so seen as though I have no concentration to read a leaflet of instructions , I decided to go to their online site and watch their short video direction . My nails were in need of some TLC so I had to clean them and shape them before getting out the kit. As you can see , my nails have not been very well looked after lately, so I was in deed in need of a pamper, the only problem with nail polish is that it chips very easily and I do not seem to have much time to keep reapplying them . Hearing about how Gel nails lasts a lot longer and basically being solid , it made me excited to think that I could achieve a professional look at home and with this kit it states a high polished look.. I was intrigued by the pen. It had three different uses which is handy for someone who needs all products and tools compacted as much as possible .
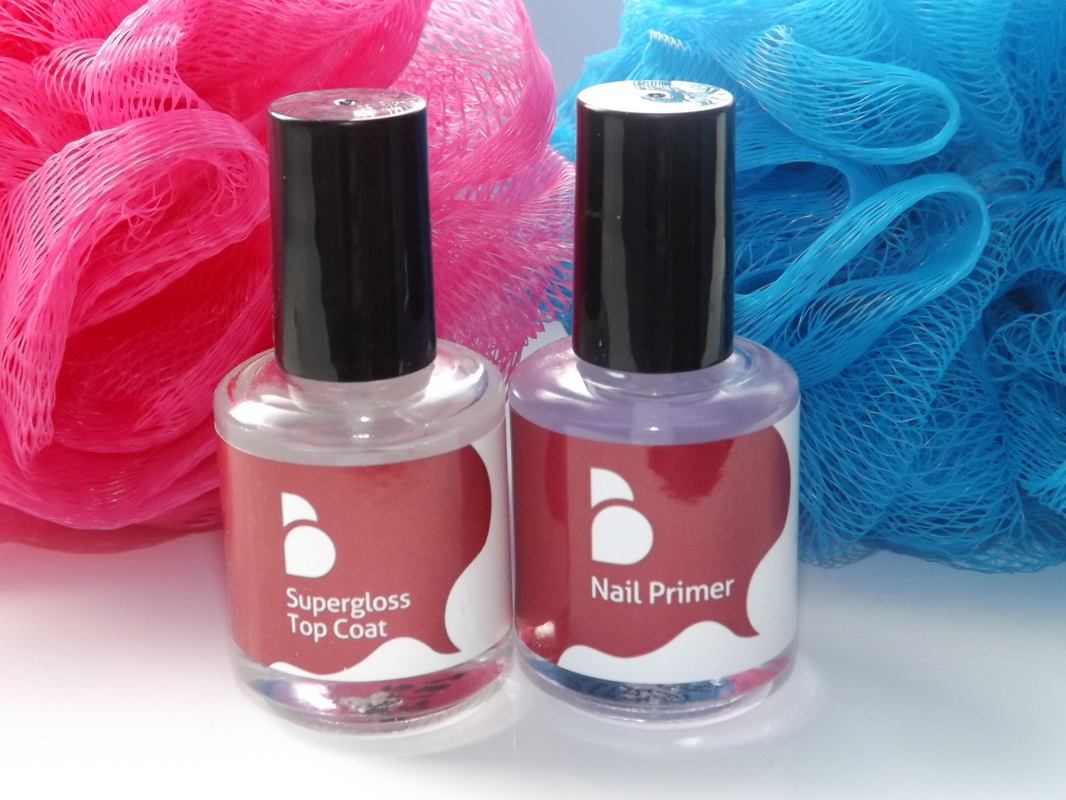
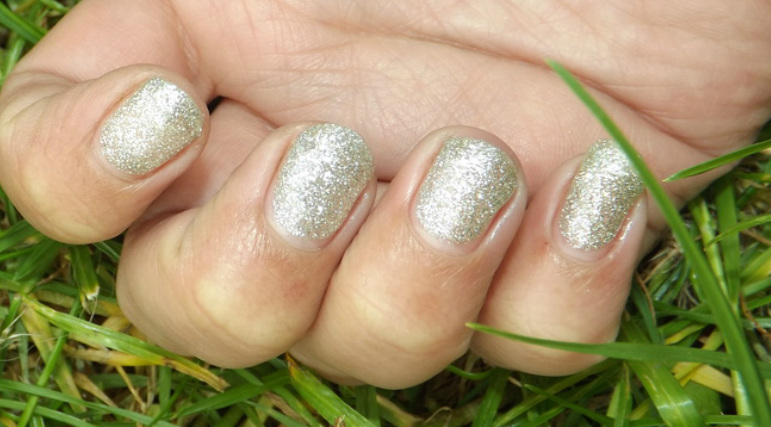
Ok so I got all products layed out on the table in order to use and firstly sanitised my hands , making sure they clear of any oil or dirt. The sanitiser does not have that strong chemical aroma, it is quite pleasant. I then applied the Primer to all my nails . Seems all very simple so far and the primer soaked into my nails pretty much straight away so I was now ready to get on with the gel itself. I felt quite weary of it. I really did not want to put too much and I put a little amount on the applicator brush and applied the clear gel to to my nails. It seemed like I had nothing on my nails so I added a little more not realising that was a little mistake I should not have done. I placed my hands under the UV nail lamp for 5 minutes and realised I had placed too much on and the gel had dried into a big lump on my little finger as if it had ran too much towards my cuticle. Luckily it was not touching the skin so I carried on hoping it would fix it self with more gel later on. I then applied the glitter gel, placed my hand under the lamp for a further 5 minutes and then applied another coat of the clear gel before placing my hand under the UV lamp for another 5 minutes. The nails seemed to be dry but I did have a small sticky residue left on my nails so I wiped that of using the sanitiser and a cotton pad. Following the instructions on the video, I used the supergloss top coat and left to dry. I think I may have rushed them a little , also a little too much gel was added at the beginning and therefore the nails were left with an uneven coat and seemed a little bumpy in some areas but to be honest it was not so noticeable and looked very glossy and shiny in the finishing result. I think I was a little eager in using too much gel and that is totally my fault but this kit was the perfect starter kit .It was very simple to use and I do think that using the colour gel would show up better results which I will do next time. My nails are left looking pretty and the gel is solid so there is no chance of this chipping or rubbing of unlike a polish so I think this kit is definitely worth it especially as I can get 20 manicures from it . Imagine how much you would save . I am sure with a little more practice , I could make my nails look a lot better than my first attempt . Have you tried a Gel nail kit like this before, what do you think?
21 Comments
30/6/2014 04:43:20 am
Love the sparkles! The gel last really well which is great for bling.
Reply
30/6/2014 04:45:59 am
I've never tried nail gel but then I don't paint my nails - not practical with four kids and 6 animals to care for! They look good though.
Reply
30/6/2014 05:08:54 am
This looks good. I might treat myself as my nails could certainly use some tlc right about now.
Reply
30/6/2014 09:46:27 am
They look great! I used to have acrylics but not since Baby was born. Now have very rubbish nails x
Reply
30/6/2014 11:28:13 am
love that you used a before pic. the glitter looks great!
Reply
30/6/2014 01:58:22 pm
Looks very good might just have to give them ago .x
Reply
1/7/2014 03:07:08 am
I have only just discovered gel nail polish but have never tried it for myself - I might try out this kit in the future!
Reply
1/7/2014 10:23:06 am
looks fabulous - not much of a nail painter myself! too much faff for me ;)
Reply
1/7/2014 12:13:54 pm
They look lovely. I love having my nails painted but I hate chipped polish so don't bother half the time!
Reply
1/7/2014 04:00:01 pm
I've heard quite a bit about gel nails never tried it myself though - perhaps it is something I need to do :) X
Reply
1/7/2014 05:19:30 pm
The main reason I don't wear nail polish on my fingers (always on my toes though!) is because of the chipping. I'm really interested in trying this, I love the glittery effect :)
Reply
Agata Pokutycka
2/7/2014 03:41:25 am
I've never tried anything like this, but I've read a lot of positive things about them.
Reply
Your comment will be posted after it is approved.
Leave a Reply. |
